If you are dealing with blocked drains, you may have searched for what is drain jetting, what is hydro jetting a drain, or how much does drain jetting cost UK. Drain problems are common across UK ...

28Feb

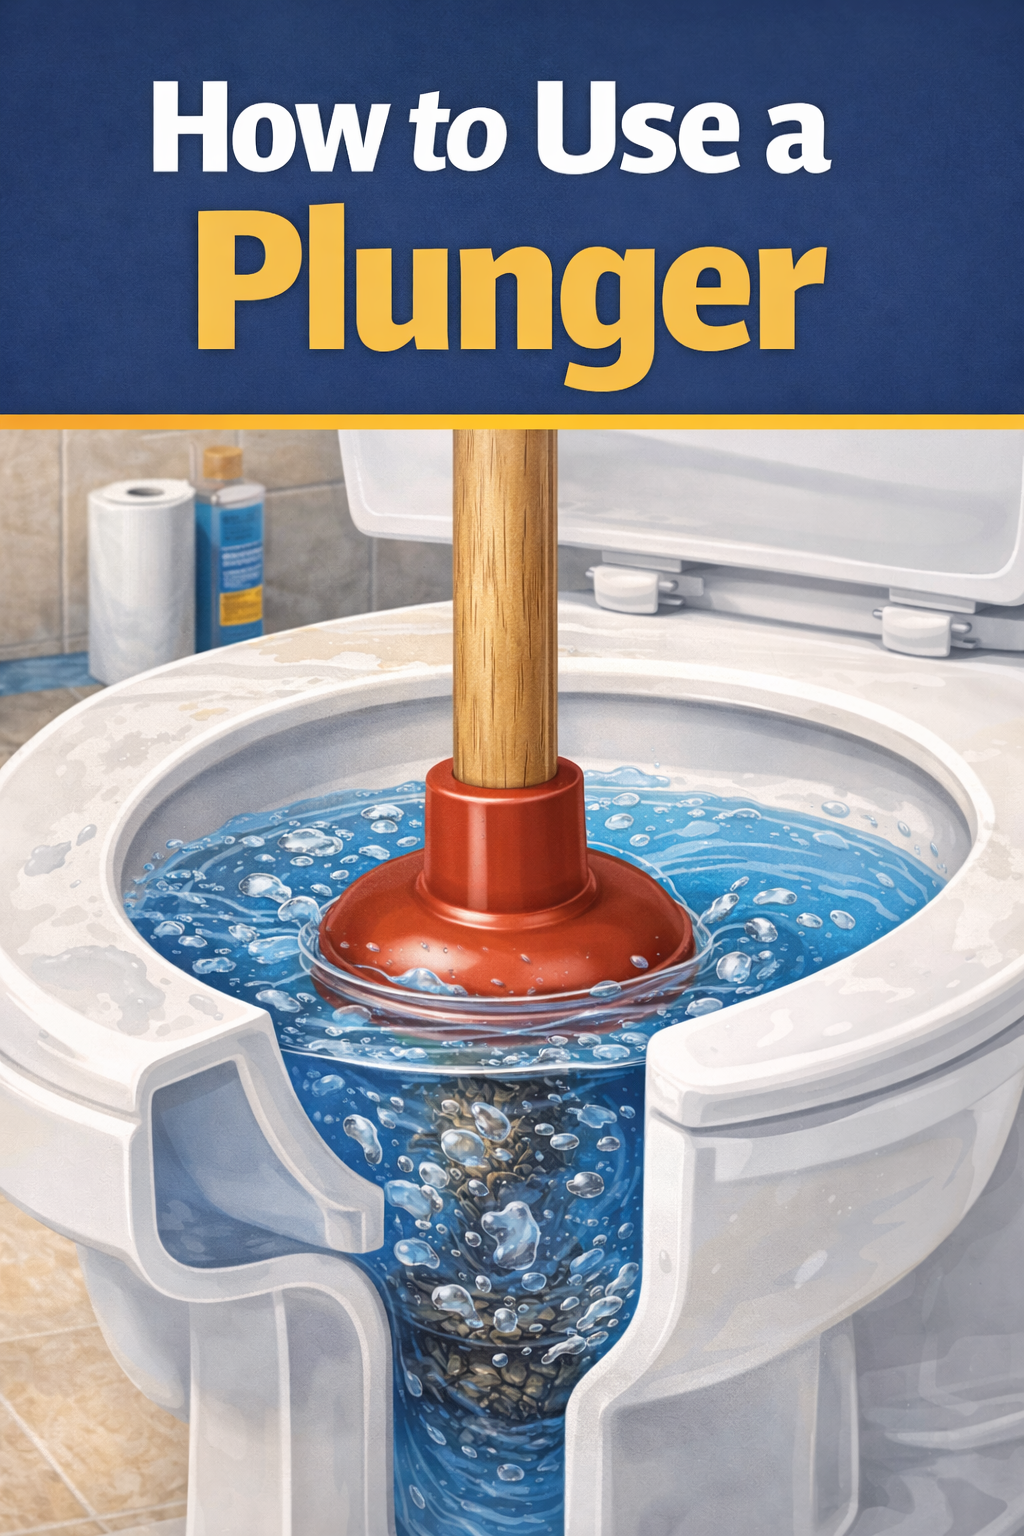
A plunger is one of the most powerful yet underestimated tools for clearing a blocked drain. Whether you’re dealing with a blocked toilet, kitchen sink, shower drain, or bath plughole, learning how to use a plunger correctly can save you hundreds of pounds in emergency plumbing call-outs.
In this detailed guide, you will learn:
How to use a plunger properly
The correct technique for different fixtures
Required PPE (Personal Protective Equipment)
Common mistakes to avoid
Alternative methods if plunging fails
Frequently asked questions
This guide is ideal for homeowners, tenants, landlords, and property managers.
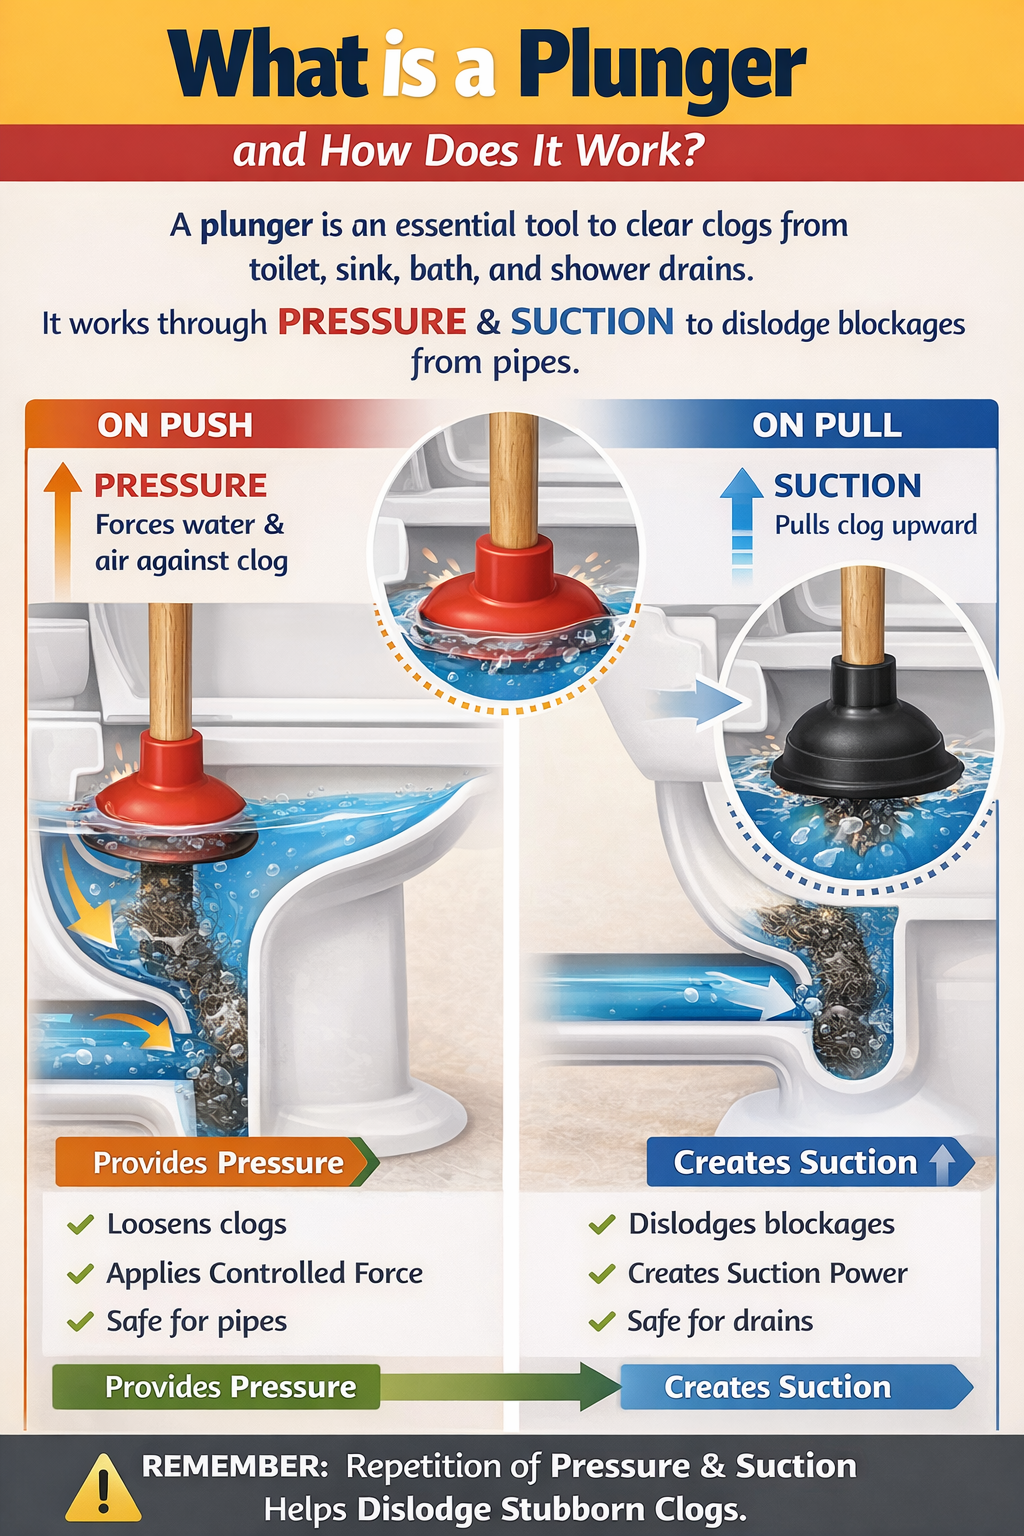
A plunger works by creating pressure and suction inside the pipe. When you push down, it forces air and water into the blockage. When you pull up, it creates suction that helps loosen and dislodge the clog.
The repeated pressure movement helps break up:
Toilet paper blockages
Grease build-up
Soap scum
Hair clogs
Food debris
The key is not force — but controlled pressure and proper sealing.
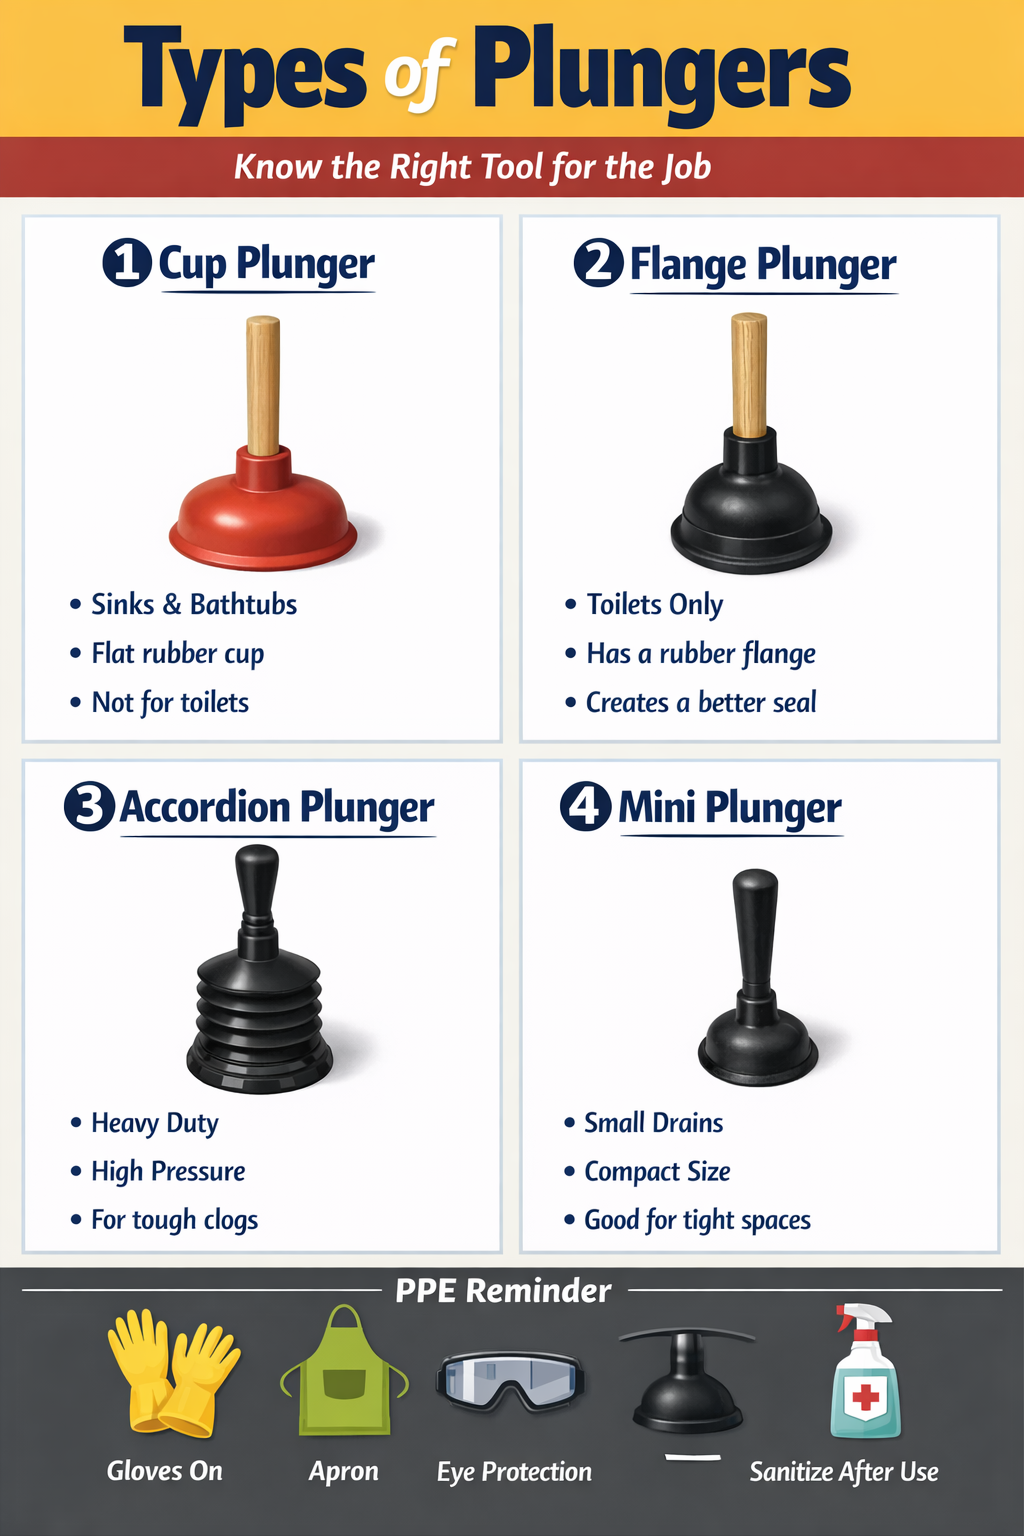
Features:
Flat rubber cup
Straight handle
Designed for flat surfaces
Best For:
Kitchen sinks
Bathroom sinks
Shower drains
Bath drains
Features:
Extended rubber flap (flange)
Designed to fit inside toilet outlet
Creates stronger seal
Best For:
Blocked toilet bowls
Severe toilet clogs
Using the wrong plunger is one of the main reasons people fail to clear blockages.
Best For:
Tough toilet blockages
Deep pipe clogs
Design Features:
Hard plastic accordion body
Generates strong pressure
More force than rubber plungers
Use With Care:
Can crack old porcelain
Not suitable for sinks
Best For:
Wash basins
Small shower drains
Utility sinks
Design Features:
Smaller rubber cup
Easier to control
Designed for narrow drains
| Plunger Type | Best For | Strength Level | Recommended For |
|---|---|---|---|
| Cup Plunger | Sink, Bath | Medium | Everyday minor clogs |
| Flange Plunger | Toilet | High | Most toilet blockages |
| Accordion Plunger | Toilet | Very High | Stubborn clogs |
| Mini Plunger | Basin | Light | Small drains |
Blocked drains contain bacteria and harmful microorganisms. Always wear:
Rubber gloves (heavy duty preferred)
Protective apron
Eye protection
Old clothing
Optional: face mask
After finishing, disinfect both the plunger and the surrounding area.
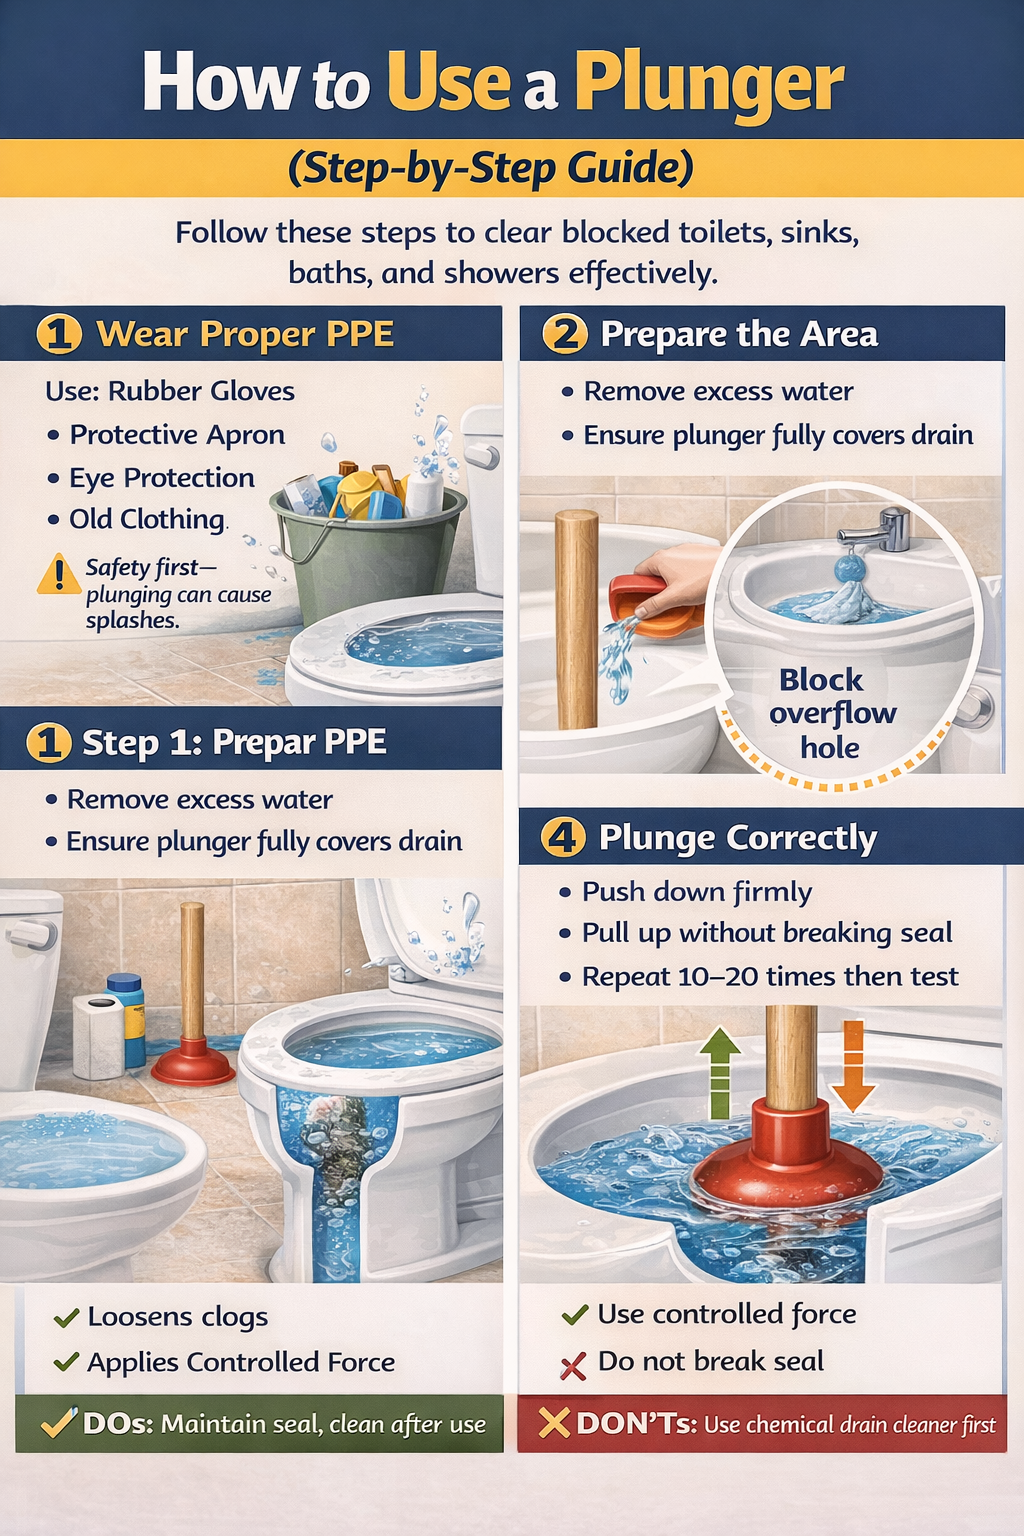
The rubber cup must be fully submerged in water to create pressure.
If there is not enough water:
Add warm water slowly.
If there is too much water:
Remove some using a bucket.
For sinks and baths:
Cover overflow hole with a wet cloth.
For double sinks, block the second drain.
This prevents air escaping and improves suction.
Place the plunger directly over the drain opening.
Ensure:
Complete seal
No air gaps
Rubber fully covering hole
Start with a slow downward push to remove trapped air.
Then:
Push down firmly
Pull up without breaking the seal
Repeat 10–20 times
Maintain consistent rhythm
Avoid random stabbing motions.
After plunging:
Remove plunger carefully
Run water
Check drainage flow
If slow, repeat the process 2–3 times.
Toilet plunging requires special care to prevent overflow.
Use a flange plunger
Insert flange into toilet outlet
Start slowly (avoid splashes)
Apply steady force
Repeat 15–20 plunges
Flush gently to test
⚠️ If water level is too high, wait before plunging to avoid flooding.
Kitchen sinks usually clog due to grease and food waste.
Remove visible food debris
Block overflow
Fill sink with warm water
Use cup plunger
Perform 15 rapid plunges
Run hot water afterwards
If grease is the issue, warm water improves results.
Shower blockages are commonly caused by hair.
Method:
Remove drain cover
Pull out visible hair
Add warm water
Use cup plunger
Short powerful strokes
Repeat 2–3 cycles
If hair remains deep inside, use a drain snake.
❌ Using the wrong type of plunger
❌ Not enough water
❌ Breaking seal repeatedly
❌ Plunging after using chemicals
❌ Using boiling water in toilets
❌ Applying excessive force on cracked porcelain
Avoid these errors for better results.
Sometimes plunging alone is not enough. Here are alternative solutions:
Best for:
Mild sink blockages
Grease build-up
Steps:
Pour 1 cup baking soda
Add 1 cup vinegar
Wait 20–30 minutes
Flush with hot water
Avoid mixing with chemical cleaners.
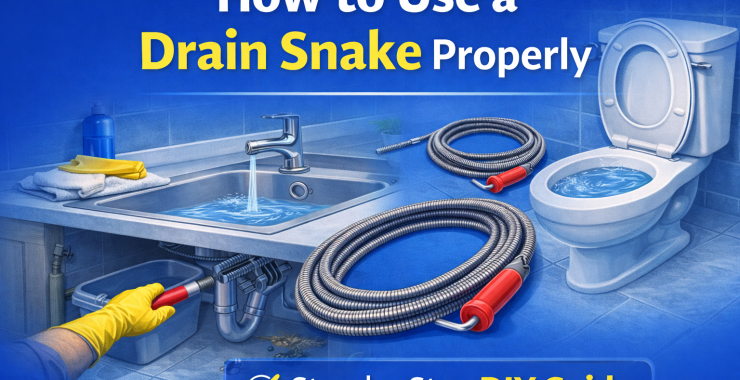
Best for:
Hair clogs
Deep obstructions
Insert and rotate to break blockage.
Used for:
External blockages
Severe pipe clogs
Always rotate clockwise to avoid detaching rods.
Call a drainage expert if:
Multiple drains blocked
Gurgling sounds
Bad smell from pipes
Recurring blockage
Slow drainage throughout property
This may indicate:
Tree root intrusion
Collapsed pipes
Main sewer blockage
Use correct plunger
Wear PPE
Maintain tight seal
Use controlled pressure
Disinfect equipment
Try 2–3 cycles before giving up
Use chemical cleaner before plunging
Plunge dry drain
Ignore repeated clogs
Force aggressively
Leave contaminated water unattended
Blocked drains can contain:
E. coli bacteria
Salmonella
Mould spores
Waste particles
Always wash hands thoroughly after use.
Disinfect:
Floor
Toilet rim
Sink area
Plunger
A plunger cannot fix:
Collapsed pipes
Tree root damage
Large solid objects (toys, wipes)
Cement or hard debris
Sewer line blockages
If problem persists after 3 attempts, stop and seek professional help.
Prevention is better than repair.
For Toilets:
Avoid flushing wipes
Limit toilet paper
Do not flush sanitary products
For Kitchen Sinks:
Avoid pouring grease
Use sink strainer
Flush weekly with hot water
For Showers:
Use hair catcher
Clean monthly
Remove soap build-up
Regular maintenance prevents emergency call-outs.
30–60 seconds per cycle. Repeat up to 3 times.
Possible reasons:
Not enough water
Wrong plunger type
Overflow hole not blocked
Broken rubber seal
When done properly, no. Excessive force on old pipes may cause stress.
Yes. It is safer, cheaper, and environmentally friendly.
Warning signs:
Multiple blocked drains
Water backing up elsewhere
Strong sewage smell
Slow drainage across house
Warm water helps with grease. Avoid boiling water in toilets.
Not recommended. Keep separate plungers for toilets and sinks.
Learning how to use a plunger correctly is an essential home maintenance skill. With the right technique, correct plunger type, and proper safety precautions, you can clear most minor blocked drains without professional help.
However, repeated blockages may indicate a deeper drainage issue requiring expert inspection.
If plunging does not solve the problem, consider using a drain snake, drain rods, or contacting a professional drainage service to prevent further damage.

 How to create new field